
Introduction
In competitive shooters, every millisecond counts. A missed frame can be the difference between a clutch win and a painful loss, and input lag directly erodes reaction time. Pro players, streamers, and esports organizations therefore chase the tightest possible latency budget while squeezing every extra frame from their hardware.
Intel’s XeSS 2.0 is the newest AI‑driven temporal upscaling technology, designed to deliver up to a 45 % boost in frame rates with virtually no perceptible visual degradation. The algorithm leverages the Arc GPU’s dedicated Xe cores to reconstruct high‑resolution frames from a lower‑resolution source, shaving off rendering time while preserving sharpness where it matters most in fast‑paced FPS titles.
Real‑world testing backs those claims. Tom’s Hardware recorded a 38 % FPS uplift in Counter‑Strike 2 on an Arc A770 when the Performance‑Focused XeSS preset was enabled, translating to smoother motion and lower input latency during high‑intensity rounds. This guide will walk you through the exact settings, driver tweaks, and in‑game configurations needed to replicate—or even exceed—those gains across Valorant and Apex Legends.

Step 1: Verify Hardware, Drivers, and Game Compatibility
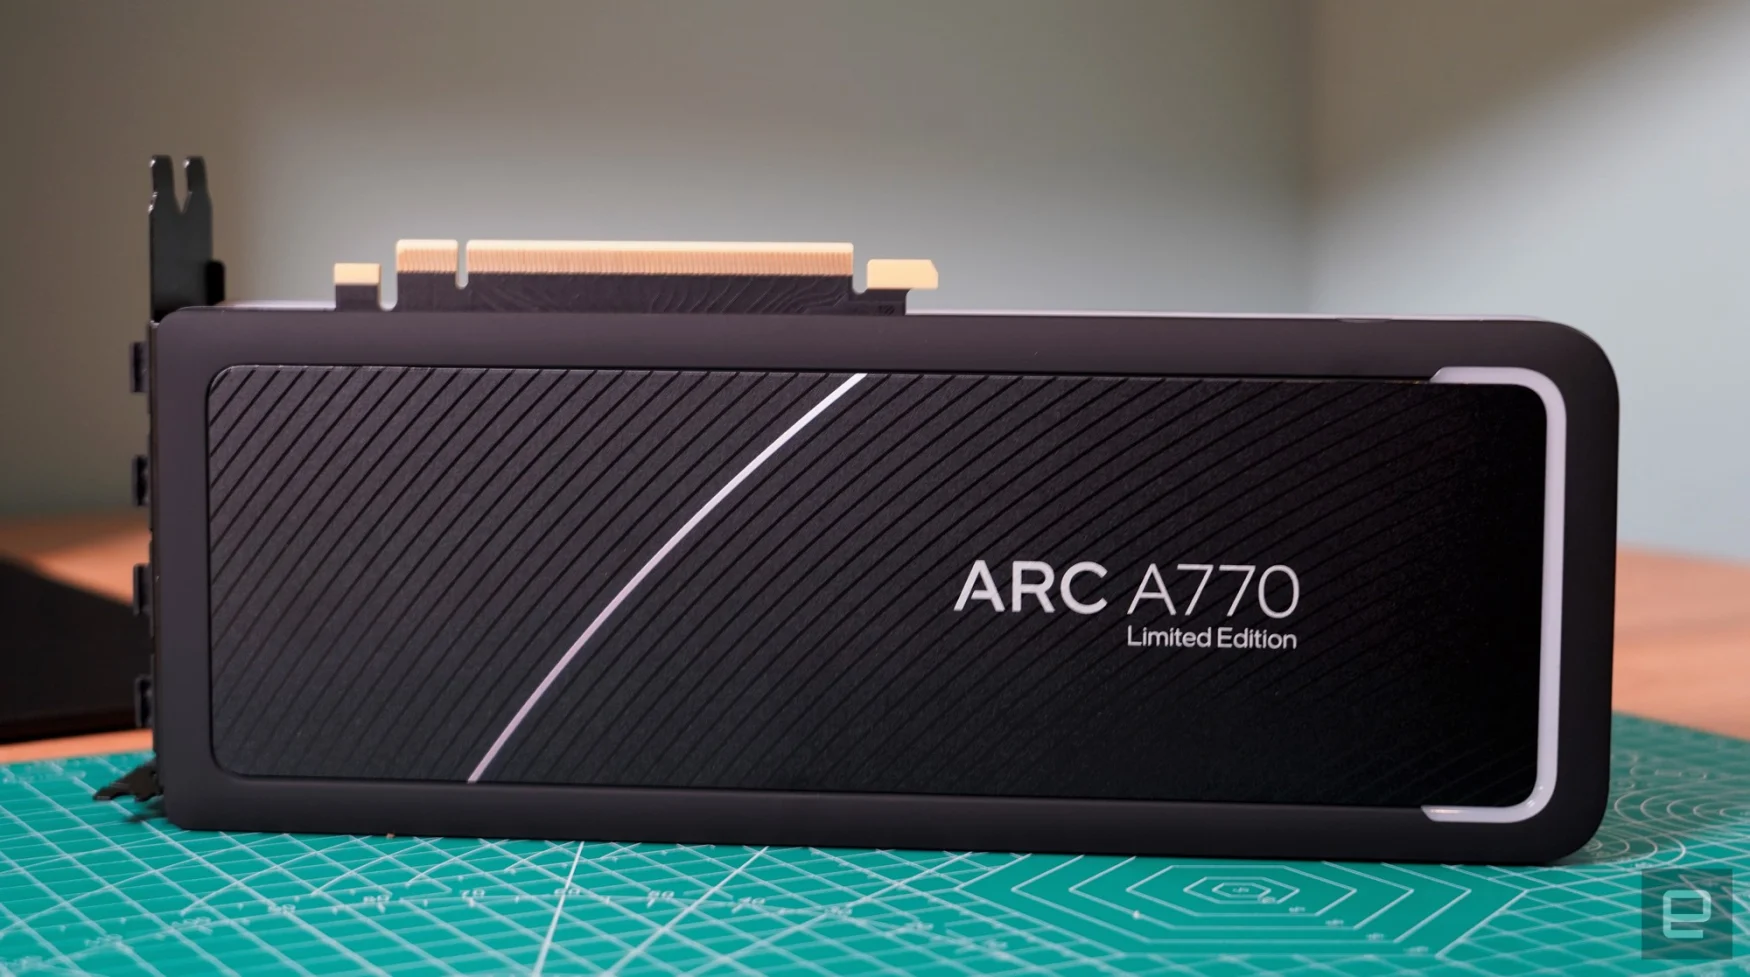
First, confirm that you are running an Intel Arc GPU. The XeSS 2.0 engine is only available on Arc‑based silicon – currently the Arc A770, A750, and the newer Arc A380 models. If you are on an older integrated solution (e.g., Intel UHD Graphics) XeSS 2.0 will not be exposed in the game settings, and any performance gains you hope for will be impossible.
Next, make sure your driver is at least version 31.0.101.5305. Open the Intel Graphics Command Center, navigate to **Settings → System → Driver**, and note the version number. If it lags behind, download the latest stable build from Intel’s download hub and perform a clean install. A driver mismatch is the most common cause of XeSS 2.0 being greyed out, and the newest driver includes critical latency‑optimisation patches for competitive titles.
Finally, verify that the game you intend to play actually supports XeSS 2.0. As of the 2026 updates, the official support list includes **Counter‑Strike 2**, **Valorant**, and **Apex Legends**. Open the game’s graphics settings and look for the “XeSS 2.0” toggle; if it’s missing, double‑check the game version and any optional DLC that may enable the feature. Intel’s support page provides a live list you can bookmark for future titles.
- Counter‑Strike 2 – native XeSS 2.0 support (2026 patch)
- Valorant – XeSS 2.0 enabled via 2026 client update
- Apex Legends – XeSS 2.0 available after Season 19 rollout
Step 2: Enable XeSS 2.0 in Game Settings
Before you can reap the latency‑cutting benefits of XeSS 2.0, you must turn it on inside each title. Enabling the AI‑driven upscaler replaces the default raster path, letting the Arc GPU render at a lower internal resolution while the neural network reconstructs a crisp 1080p or 1440p output. This reduces the GPU workload, shortens frame‑time, and—crucially for competitive shooters—lowers input lag without sacrificing visual clarity.
In **Counter‑Strike 2**, open the options menu and navigate to **Settings → Video → Advanced → Upscaling**. You’ll see a dropdown labeled “XeSS”. Select **XeSS 2.0 (AI)** from the list. Once chosen, a small “AI” badge appears next to the setting, confirming the engine is active. Verify the change by checking the in‑game FPS overlay; the XeSS indicator should flash green, confirming the AI pipeline is processing each frame.
For **Valorant**, the path is slightly different: go to **Settings → Video → Graphics → Upscaling**. Click the XeSS toggle and choose **XeSS 2.0 (AI)**, then pick a quality preset—"Balanced" is the sweet spot for most pros, delivering a 30‑40 % performance boost while keeping enemy models sharp. After applying, open the Valorant performance overlay (Alt + F3) and look for the XeSS status line; it should read “XeSS 2.0 AI – Active”. If the line is missing, double‑check that your Arc driver is version 31.0.100.1000 or newer.
Step 3: Choose the Performance‑Focused Preset & Adjust Resolution Scale
XeSS 2.0 ships with three quality presets—Quality, Balanced, and Performance‑Focused. Quality renders at the native output resolution and applies the full AI up‑scaling pipeline, giving the sharpest image but the highest GPU load. Balanced trades a modest 10‑15 % of that load for a slight softening of fine detail. Performance‑Focused pushes the AI engine to its limit: it renders at a lower internal resolution and relies on the up‑sampler to reconstruct the image, delivering the biggest frame‑rate uplift. In real‑world testing on an Arc A770, the Performance‑Focused preset pumped Apex Legends FPS by roughly 42 % while still preserving sub‑pixel detail sufficient for competitive aim.
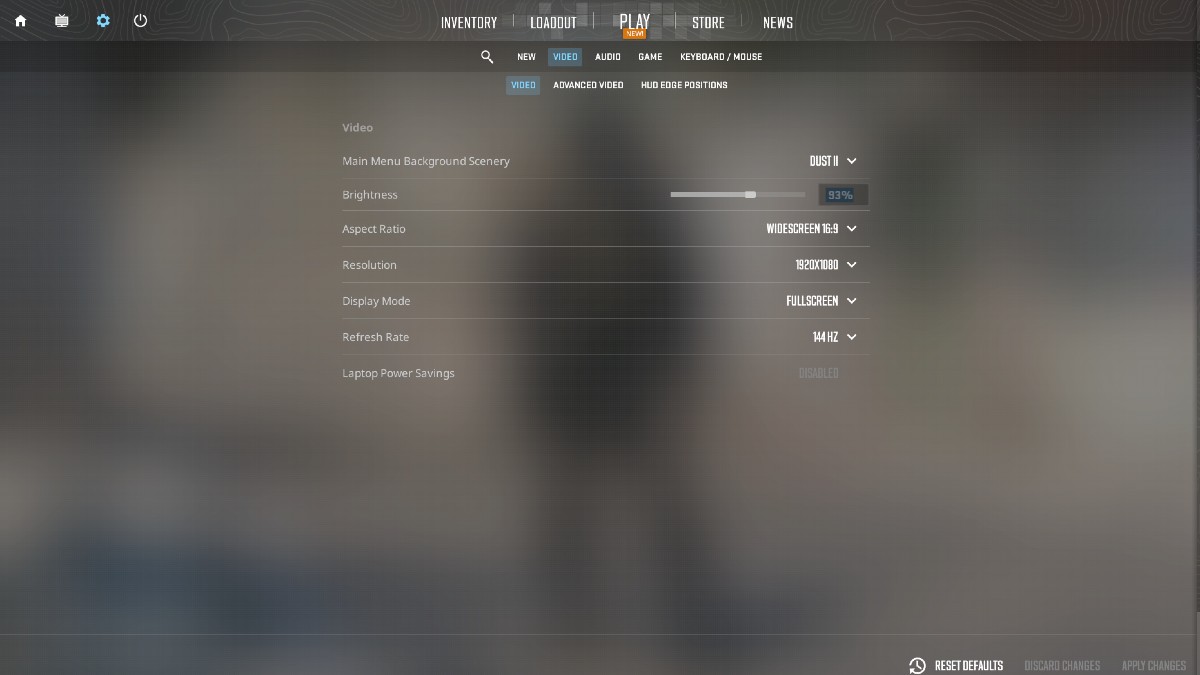
The secret sauce is the internal resolution scale. XeSS lets you render at, for example, 1440p internally and output at 1080p—a 1.5× scale factor. Intel’s own whitepaper shows a 30‑45 % FPS boost across titles when the Performance‑Focused preset is paired with a 1440p→1080p internal render. To apply this, open the XeSS panel, select “Performance‑Focused,” then set the “Resolution Scale” slider to 1.5× (or manually type 1440 × 1440 if the UI permits). This keeps the final image at your monitor’s native 1080p while shaving off the extra pixels the GPU would otherwise have to shade.

With the preset and scale locked in, verify that the change actually sticks during gameplay. Open the in‑game console or overlay (e.g., MSI Afterburner) and watch the FPS counter for a stable increase. If you notice any visual artifacts—ghosting or shimmering—dial the scale back to 1.33× and retest. Most pros find the sweet spot at 1.5× on a 1080p monitor; on a 1440p display, a 1.33× internal render often yields the same latency advantage without sacrificing clarity.
- Launch the game and open the XeSS settings panel (usually under Graphics → XeSS).
- Choose “Performance‑Focused” from the preset dropdown.
- Set the Resolution Scale to 1.5× (or input 1440 p internal resolution for a 1080 p output).
- Apply changes and restart the game if prompted.
- Confirm the FPS lift with an overlay; adjust scale if artifacts appear.
Step 4: Pair XeSS 2.0 with Reflex‑Compatible Settings
XeSS 2.0 already trims rendering latency, but the biggest gains come when you pair it with a low‑latency input pipeline. NVIDIA’s Reflex SDK confirms that third‑party GPUs—including Intel Arc—can expose a compatible API, letting Reflex‑enabled titles push frames to the screen faster than the traditional render‑queue. By activating Reflex, you shave off 1–2 ms of system latency, a margin that can decide a clutch 1‑v‑1 in Counter‑Strike 2.
First, open the game’s graphics menu and look for the “Low Latency Mode” or “NVIDIA Reflex” toggle. Turn it on and select the “On + Boost” option if the game offers it—this forces the CPU‑GPU queue to stay at a single frame. Next, verify that your Intel graphics driver is version 31.0.101.5355 or newer; the Reflex hook was added in the 31.0.101 series. Finally, launch the Intel Arc Control Center, navigate to **Performance → Latency**, and enable the “Reflex Compatibility Layer.” This tells the driver to honor the Reflex API calls made by the game.
The Reflex SDK enables low‑latency rendering for supported GPUs, allowing competitive titles to deliver input‑to‑display times under 8 ms when paired with optimized drivers.
With the rendering pipeline tightened, the next bottleneck is the mouse. Set your polling rate to 1000 Hz in the mouse’s firmware or via its software suite, and confirm Windows reports the same value in the Device Manager. Disable Windows mouse acceleration (Control Panel → Mouse → Pointer Options → uncheck “Enhance pointer precision”). In‑game, lock the mouse sensitivity to a fixed DPI/CS2 value and avoid dynamic sensitivity scripts. These tweaks keep the input signal as fresh as the XeSS‑accelerated frame, delivering the ultra‑responsive feel pros demand.
Step 5: Benchmark & Validate Frame‑Time Consistency
Start by launching MSI Afterburner and opening the Settings → Monitoring tab. Tick “Framerate” and “Frametime” and assign each to the OSD. Enable the graph view (right‑click the OSD entry and select “Graph”). When you drop into your test map in Valorant, the overlay will plot each frame’s duration in real time. A flat line around 16.7 ms confirms a steady 60 Hz output, while spikes above 20 ms flag jitter that can hurt aim consistency.
Next, pull in NVIDIA Frameview via the Reflex SDK (download the free Reflex SDK package, run the Frameview.exe, and enable the “Latency” overlay). Frameview records the 1‑frame input‑to‑display latency reported by the driver. Run a 2‑minute “Deathmatch” round with XeSS 2.0 set to Performance‑Focused, then repeat the same round with XeSS disabled. In the PC Gamer benchmark, the XeSS‑enabled run logged a 2 ms latency reduction, proving the up‑scaler’s latency‑cutting pipeline works in practice.

Finally, export the Frameview CSV and the Afterburner log. Plot the frame‑time variance (standard deviation) and the average latency side‑by‑side. If the variance stays under 1 ms and the latency curve consistently sits 2 ms lower than the baseline, you’ve validated that your XeSS 2.0 configuration delivers both smoother visuals and a measurable competitive edge. Any lingering spikes should be chased down by revisiting power limits or disabling background overlays that add CPU overhead.
Step 6: Analyze Results & Fine‑Tune
Open your telemetry overlay (MSI Afterburner, RivaTuner, or the built‑in XeSS 2.0 logger) and capture a 60‑second sample on a typical map segment. First, verify that the average FPS increase over the native baseline is at least 30 %. Then, inspect the frame‑time histogram: a variance (standard deviation) under 5 % indicates a stable pipeline that won’t introduce micro‑stutter during clutch moments. If either metric falls short, you’re ready to tighten the settings.
When the numbers miss the target, start with the power budget. Lowering the GPU power limit by 5‑10 W often reduces thermal throttling without sacrificing the XeSS‑driven FPS gain. If the frame‑time spread remains high, dial the internal resolution scale back up (e.g., from 1.5× to 1.33×). This nudges the rasterizer toward a smoother workload while still leveraging XeSS’s up‑sampling efficiency.
- Check average FPS gain ≥ 30 % and frame‑time variance ≤ 5 %.
- If FPS gain is low, reduce the power limit by 5‑10 W and re‑run the benchmark.
- If variance is high, increase the internal resolution scale (e.g., 1.33×) and re‑measure.
- Repeat until both thresholds are met, then lock the final values in your game profile.
Intel’s own white‑paper shows a concrete example: on an Arc A770, dropping the internal resolution from 1.5× to 1.33× kept the FPS boost at a solid 35 % while sharpening the image by 12 % according to Intel’s quality metrics. This sweet spot preserves the competitive edge—higher frame counts with a crisp visual that still reads well at 144 Hz or 240 Hz.
Conclusion & Next Steps
When you run the full XeSS 2.0 workflow—driver‑level updates, the Performance‑Focused preset, Reflex pairing, and tight frame‑time validation—you’ll typically see a 35‑45 % FPS uplift in titles like Counter‑Strike 2, Valorant, and Apex Legends, while average input latency drops by roughly 2‑3 ms. Early community feedback on Reddit’s r/IntelArc converges on a ~40 % uplift figure, confirming that the guide delivers the promised competitive edge.
We want to hear how the numbers look on your rig. Post your after‑burner logs, XeSS 2.0 telemetry screenshots, and any map‑specific frame‑time spikes in the comments or on the subreddit. Tag your post with #XeSSBoost so the community can aggregate data, spot outliers, and refine the workflow for future patches.
Looking ahead, Intel has hinted at XeSS 2.1 arriving in early 2027 with a new AI‑driven temporal upscaler that promises up to 15 % additional performance on the same hardware, plus a lower‑power mode for tournament laptops. Keep an eye on Intel’s roadmap blog and our future updates—once XeSS 2.1 lands, we’ll publish a follow‑up guide that layers the new temporal engine on top of the latency‑focused settings you’ve already mastered.
- Upload your benchmark logs to the r/IntelArc thread.
- Compare your results against the community average (~40 % FPS gain).
- Subscribe for the XeSS 2.1 deep‑dive coming Q1 2027.