
Introduction: Why Every Millisecond Counts in Valorant
In a game where a single headshot can swing a round, the difference between a win and a loss is often measured in milliseconds. The average human reaction time to visual stimuli hovers around 250 ms, yet elite FPS competitors consistently fire within 150 ms of spotting an opponent. Those extra 100 ms translate to a noticeable edge on a 240 Hz panel, where each frame appears for just over 4 ms.
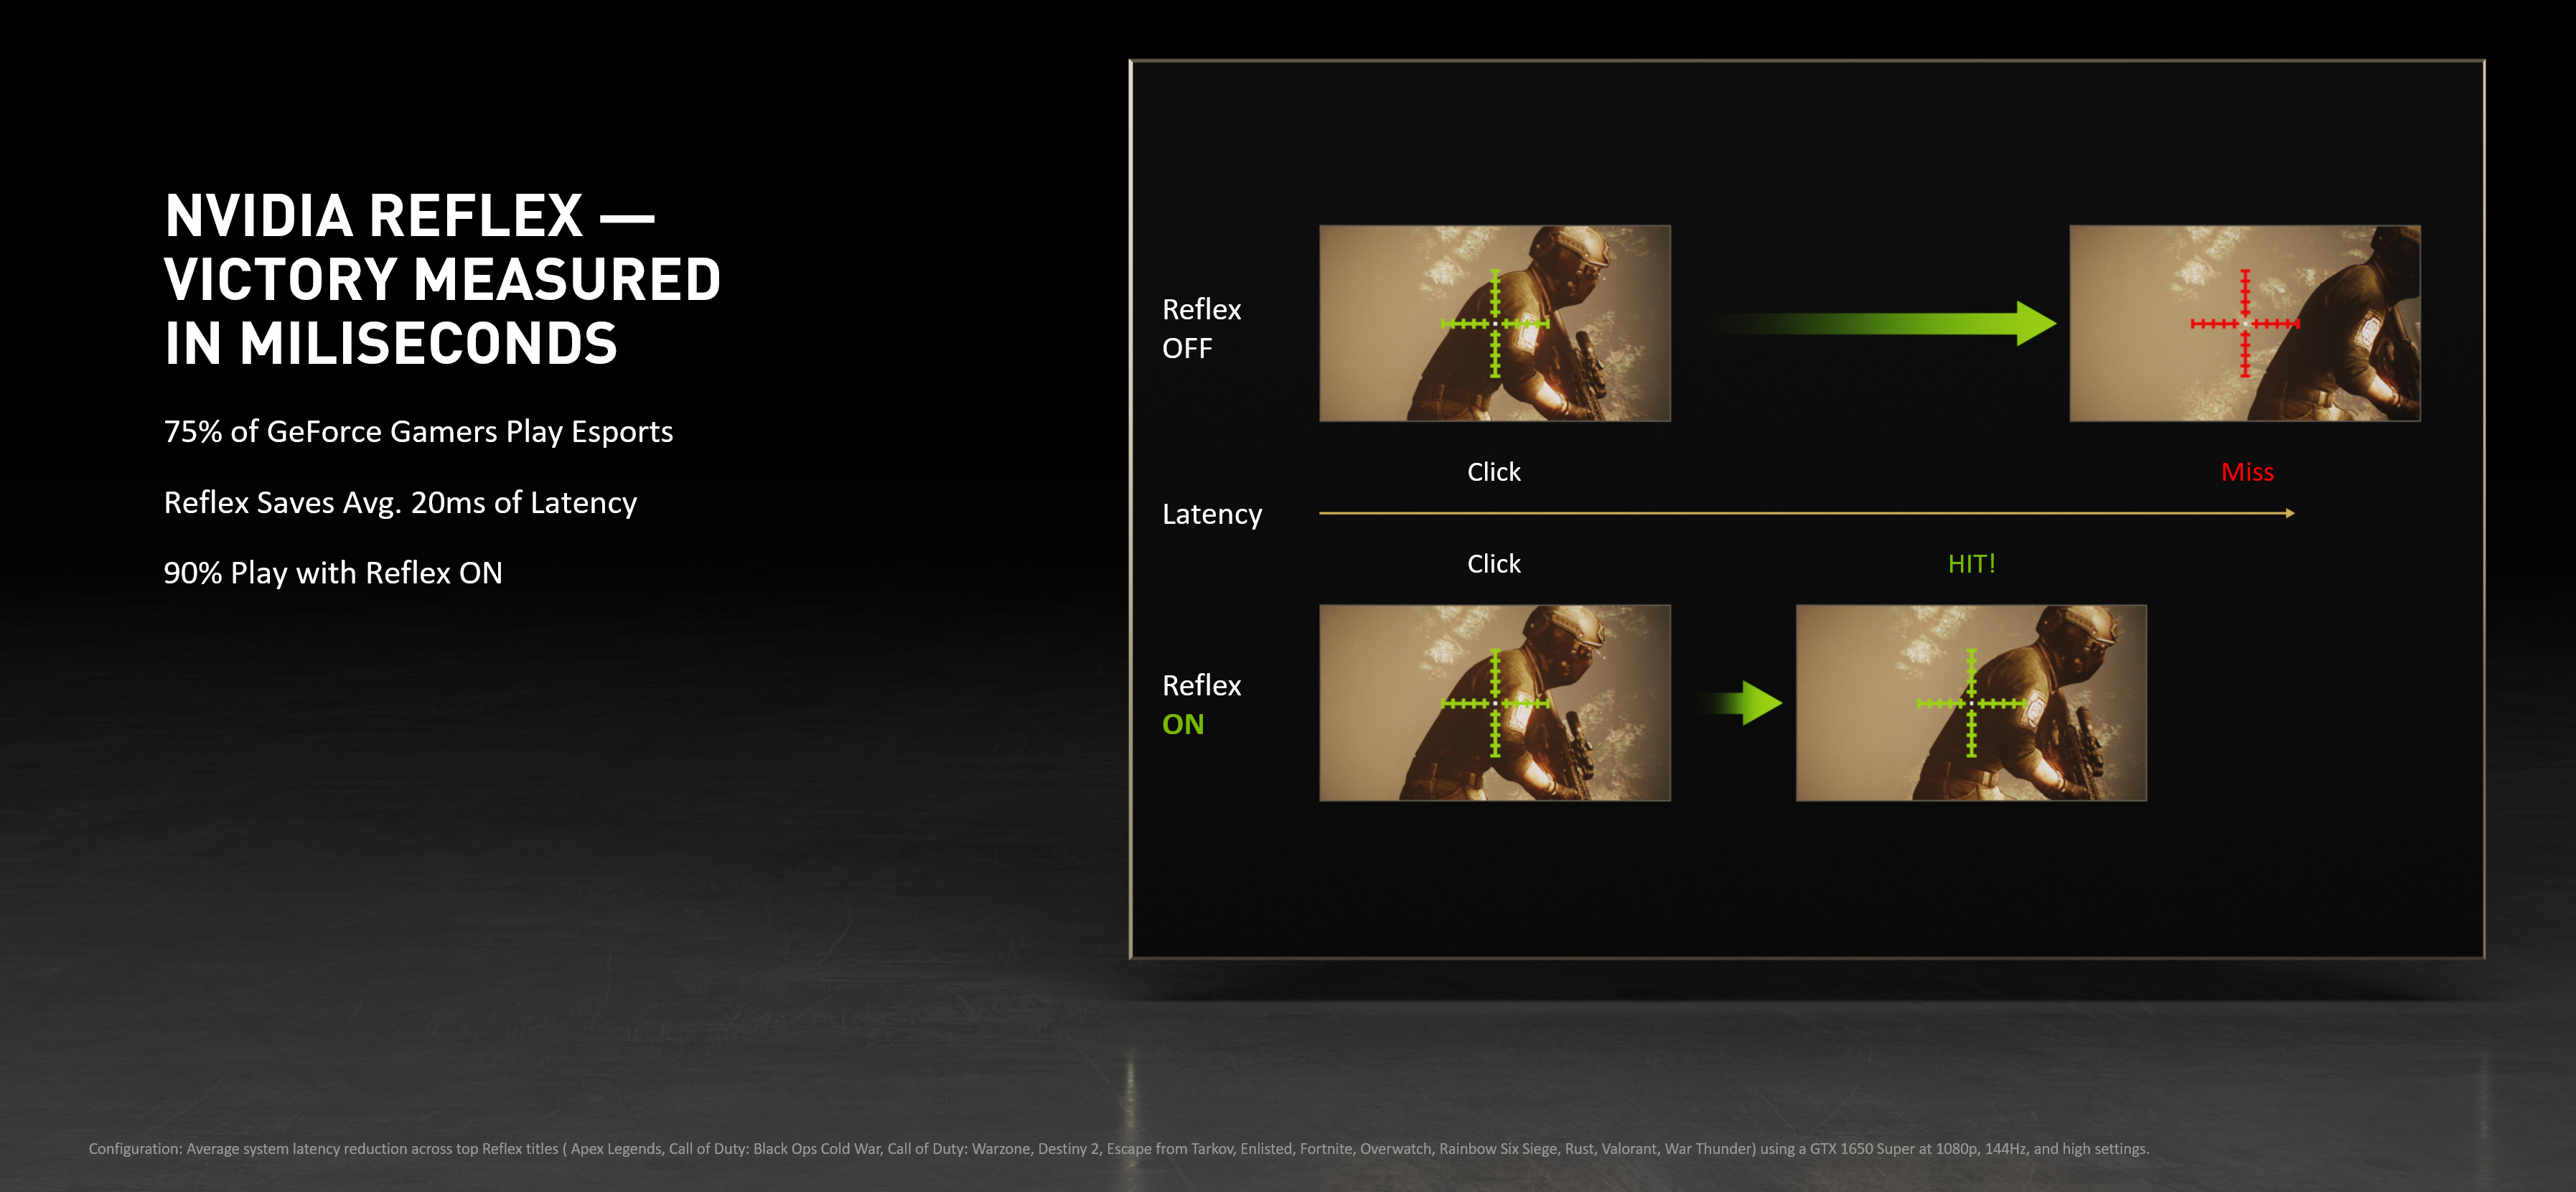
NVIDIA Reflex directly attacks that gap by streamlining the path from mouse click to pixel on screen. In controlled tests, Reflex trims system latency by up to 3 ms—a margin that can turn a clutch defuse into a victory. On a 1440p 240 Hz monitor, shaving three milliseconds means you’re effectively gaining an extra frame of reaction time, letting you land shots before the enemy even registers your movement.
NVIDIA Reflex reduces system latency by up to 3 ms, which can be the difference between a win and a loss in clutch rounds.
When you pair a 240 Hz panel with Reflex, you’re not just chasing higher frame counts; you’re aligning your hardware’s raw speed with your brain’s processing limits. The result is a tighter feedback loop where every twitch of the mouse is reflected on screen almost instantly. Understanding why those milliseconds matter is the first step—next we’ll walk through the exact settings you need to enable Reflex and fine‑tune it for a 1440p, 240 Hz rig.
Step 1: Verify Hardware Compatibility
Before you dive into Reflex settings, confirm that your graphics card can actually run the feature. NVIDIA Reflex is supported on every GeForce RTX 20‑series GPU and newer – that means an RTX 2070, any RTX 30‑series (3070, 3080, 3090, etc.), and the latest RTX 40‑series models. If your rig is still on a GTX‑10xx or older, Reflex will stay disabled, no matter how low your monitor’s refresh rate is.
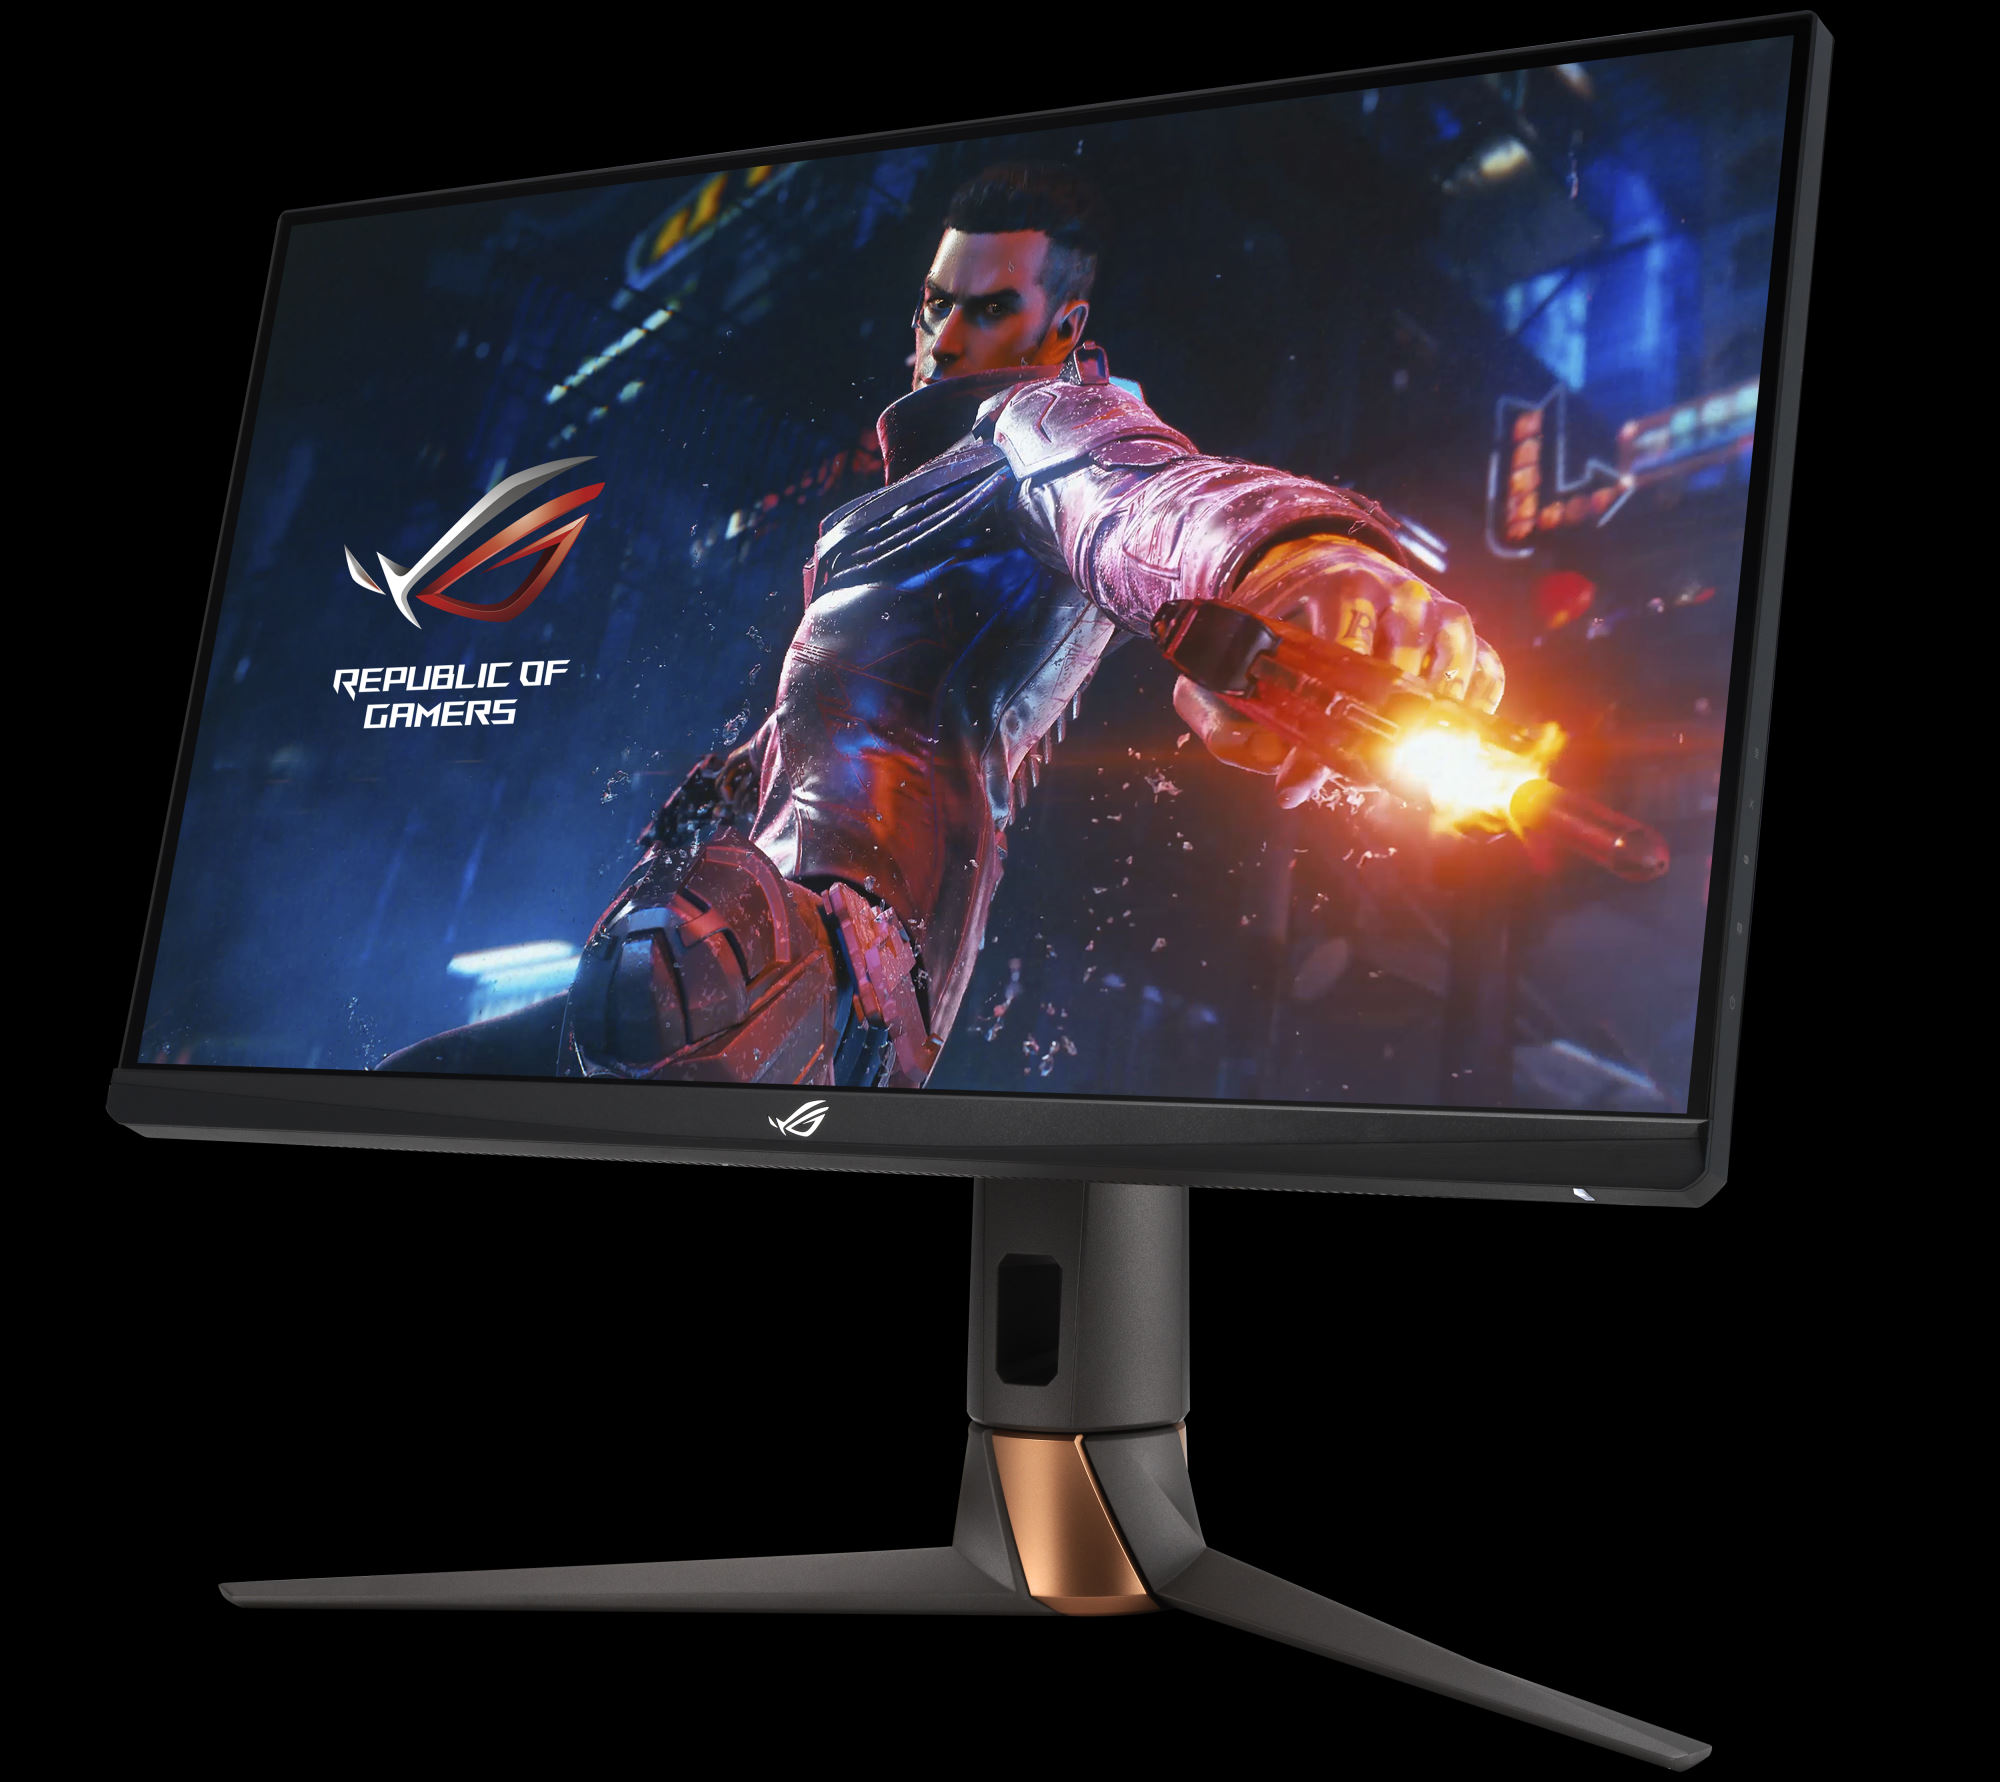
Next, check the display. Reflex can only reduce system latency when the monitor can keep up with the GPU’s frame output, so a 1440p 240 Hz panel is essential for a competitive edge. The ASUS ROG Swift PG279QM, for example, delivers a native 240 Hz refresh at 1440p, giving you the bandwidth to see every frame the moment it’s rendered. Without a panel that matches or exceeds 240 Hz, the Reflex pipeline will still work, but you won’t reap the full latency‑reduction benefit.
Finally, make sure your driver is up to date. NVIDIA requires a Game Ready driver version 531.xx or newer for Reflex to be exposed in Valorant’s settings. Updating the driver guarantees that the Reflex SDK is correctly injected and that any recent latency‑optimisation patches are applied. After confirming GPU, monitor, and driver, you’re ready to enable Reflex in the game’s video options.
- GPU: RTX 20‑series or newer (e.g., RTX 2070, RTX 3080, RTX 4090)
- Monitor: 1440p 240 Hz panel (e.g., ASUS ROG Swift PG279QM)
- Driver: GeForce Game Ready 531.xx or later
Step 2: Update Drivers & Install NVIDIA Reflex Analyzer (Optional)
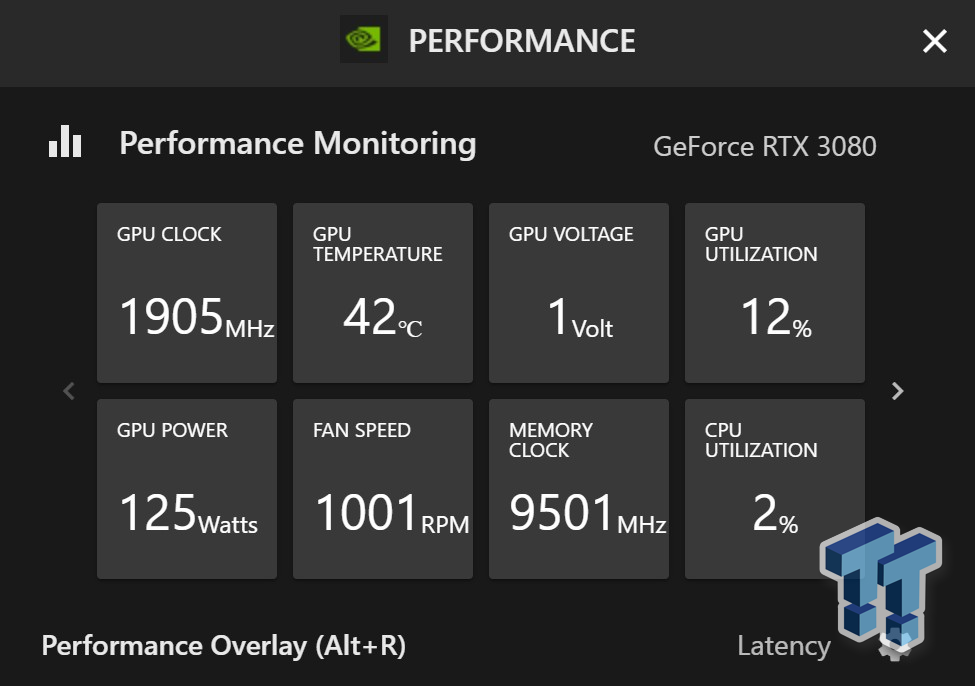
Head to NVIDIA’s driver download portal and pull the latest GeForce Game Ready driver – version 557.71 or newer. This March 2026 release adds full NVIDIA Reflex support for Valorant on Windows 11, ensuring the OS can communicate the low‑latency flags the game emits. Download the EXE, run it, choose a clean install, and let the installer reboot your PC. After reboot, open the NVIDIA Control Panel, navigate to “Manage 3D settings,” and confirm the driver version at the top of the window.
Once the driver is installed, launch Valorant and open the Settings menu. Under the “Graphics” tab you’ll now see a toggle for “NVIDIA Reflex Low‑Latency Mode.” Set it to “On + Boost” to let the driver trim the render queue while the GPU runs at peak frequency. Verify the change by checking the in‑game FPS overlay – a green Reflex icon confirms the feature is active.
If you want hard data instead of eyeballing the icon, plug the NVIDIA Reflex Latency Analyzer into an available USB‑C port. The device sits between your monitor’s HDMI/DisplayPort cable and the monitor itself, capturing frame‑by‑frame latency timestamps. Install the accompanying Reflex Analyzer software from NVIDIA’s site, run the benchmark mode, and you’ll see exact input‑to‑display times in milliseconds – a priceless tool for coaches and technicians fine‑tuning settings on a 1440p 240 Hz panel.
Step 3: Configure Valorant Settings for Reflex
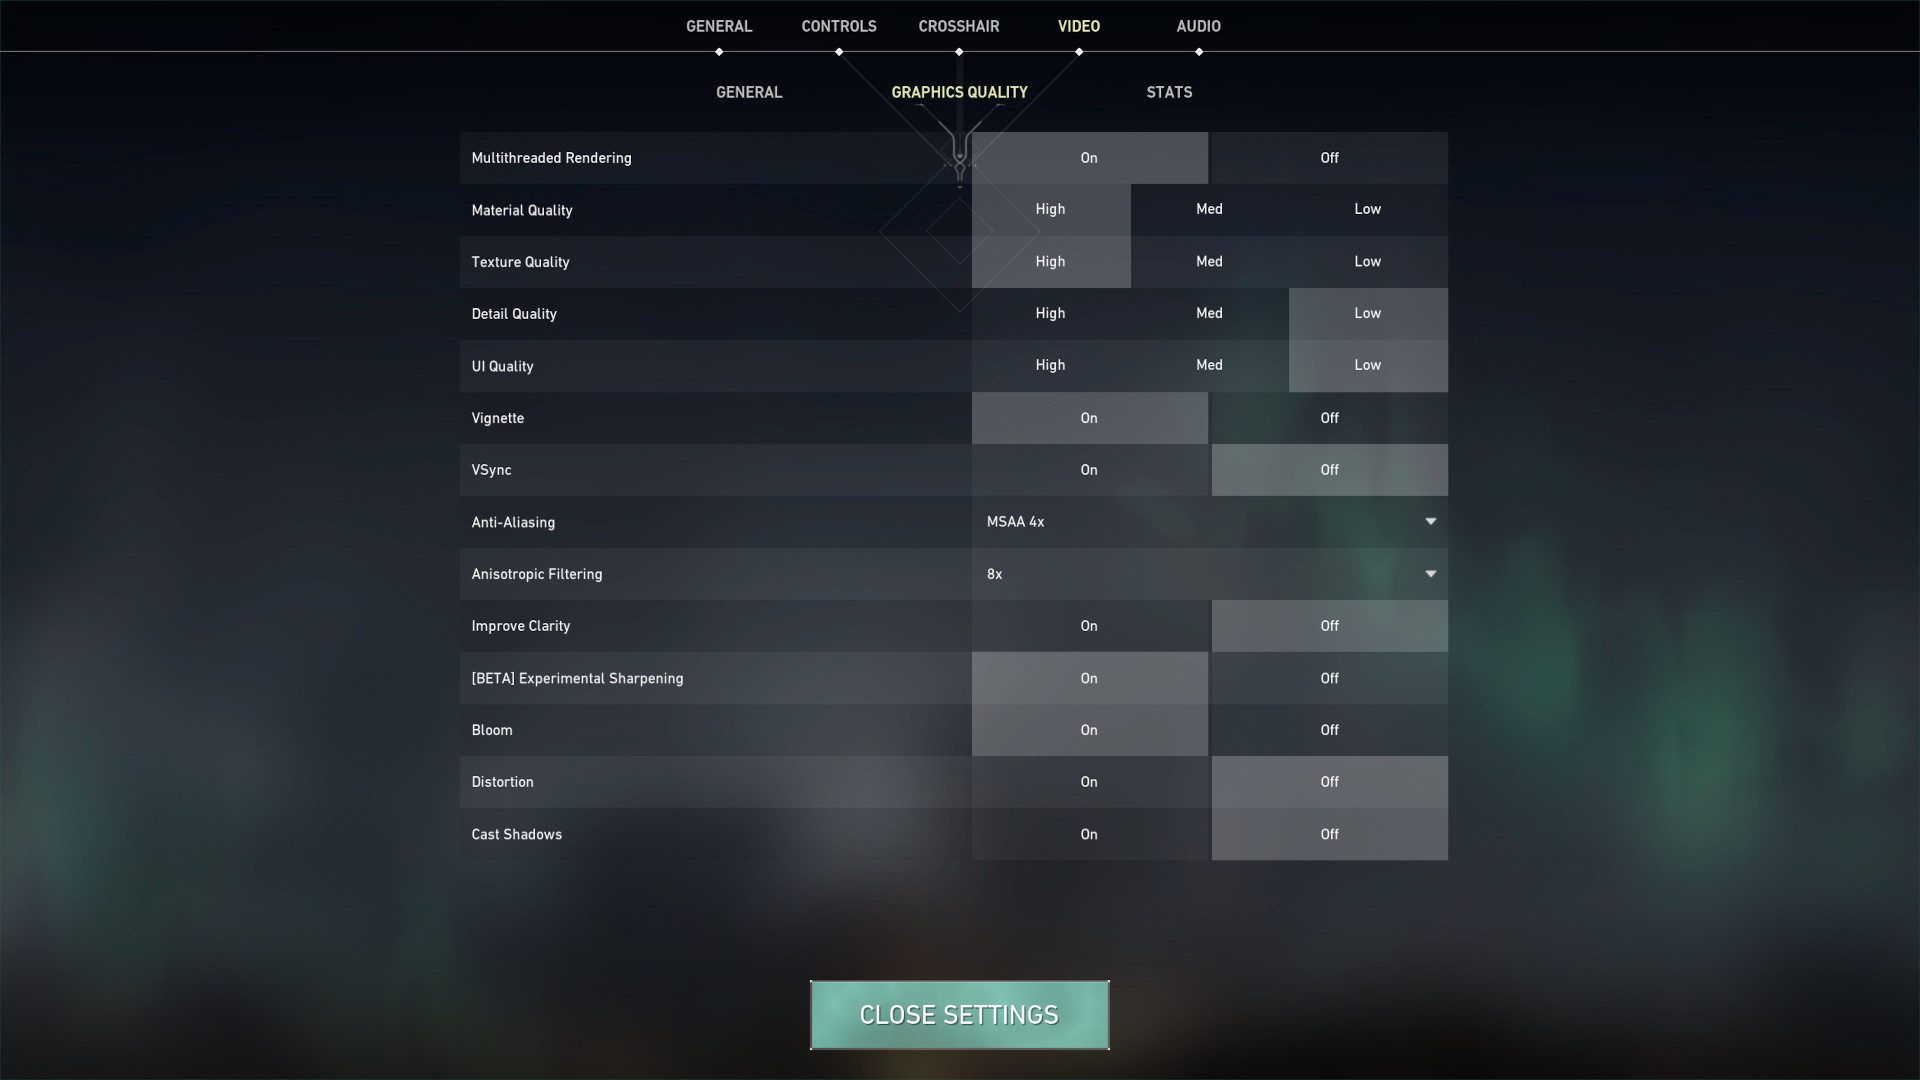
Open Valorant, head to **Settings → Video**, and locate the **Reflex Low‑Latency Mode** toggle. Set it to **‘On + Boost’** – this tells the engine to prioritize the most recent input frame and to apply a GPU‑side boost when the CPU becomes the bottleneck. The option is explicitly recommended by Riot for the lowest possible end‑to‑end latency, shaving off 1‑2 ms in most competitive scenarios.
- **Reflex Low‑Latency Mode:** On + Boost
- **Max FPS:** 240 (matches a 1440p 240 Hz panel)
- **V‑Sync:** Off
Next, lock the **Max FPS** slider at **240**. Aligning the game’s frame output with the monitor’s refresh rate eliminates the dreaded frame‑queue buildup that can add 3‑5 ms of hidden lag. Finally, turn **V‑Sync** off; with Reflex already handling tear‑free rendering, V‑Sync would only re‑introduce latency without any visual benefit on a high‑refresh display.
Step 4: Optimize Monitor Refresh & Overdrive
First, lock your panel at its native 240 Hz refresh rate. Open the monitor’s OSD, navigate to **Refresh Rate**, and select 240 Hz. At 1440p this pushes a new frame to the screen every 4.17 ms, shaving precious time off the input‑to‑display pipeline. If the monitor defaults to 60 Hz or 120 Hz, Reflex can’t deliver its full latency‑reduction potential because frames are simply not being produced fast enough.
Next, crank the Overdrive setting to its most aggressive preset—usually labeled **Fast** on the ASUS ROG Swift PG279QM. This mode drives the panel’s pixels to change state in roughly 1 ms, dramatically cutting ghosting and ensuring the image you just shot appears instantly. The reduced pixel response time pairs perfectly with Reflex’s frame‑queue trimming, letting each tick you fire be visualized without delay.
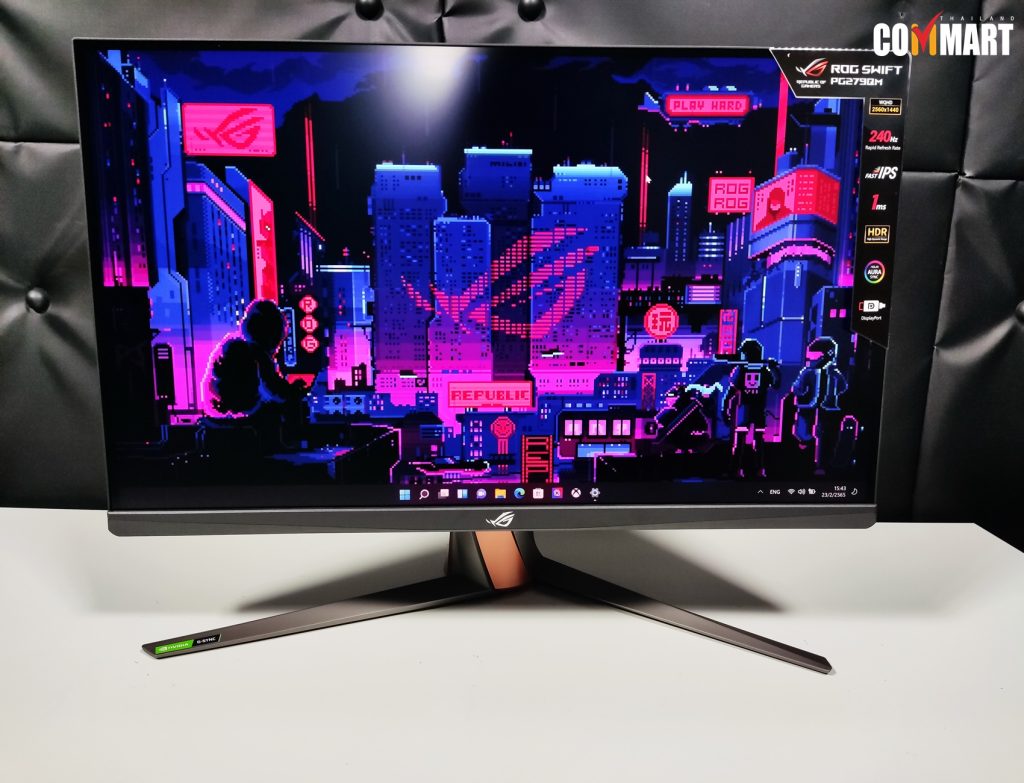
Finally, verify that G‑Sync (or FreeSync, if you’re on a compatible NVIDIA card) is enabled and active. G‑Sync synchronizes the GPU’s frame output with the panel’s refresh cycle, eradicating tearing without inserting extra buffering—exactly the behavior Reflex expects. In the NVIDIA Control Panel, confirm **G‑Sync Compatible** is checked for your monitor; a green status indicator in the OSD confirms it’s live. With G‑Sync running, you retain the ultra‑low latency chain Reflex builds, while enjoying a tear‑free image at 240 Hz.
Step 5: Measure Latency with the Reflex Analyzer
Plug the NVIDIA Reflex Analyzer into a free USB‑C port on your rig, then attach the included USB‑A to‑USB‑C cable to the mouse’s sensor port. The Analyzer draws power from the PC, so you’ll see a tiny LED pulse when the connection is live. Open the Reflex Analyzer app (installed with the driver package) and select **Valorant** from the drop‑down list – the software automatically syncs with the game’s telemetry.
In the app, click **Run Latency Test**. The test fires 100 simulated frames and reports an average system latency in milliseconds. Record this baseline before you toggle Reflex in‑game. Next, go back to Valorant, enable **Reflex Low‑Latency Mode**, and repeat the test. The post‑Reflex figure should sit noticeably lower; write both numbers side‑by‑side in a spreadsheet for quick reference.
NVIDIA’s own benchmark shows a typical drop from roughly 12 ms to 9 ms when Reflex Low‑Latency Mode is active – a 25 % reduction that can translate to a decisive edge in 240 Hz play. If your measurements mirror this range, you’ve successfully trimmed the input pipeline. If the delta is smaller, double‑check your monitor’s overdrive settings and ensure the Analyzer firmware is up‑to‑date.
Step 6: Maintain Low Latency in LAN Tournament Environments
Even with Reflex perfectly tuned, a noisy LAN venue can re‑introduce the very milliseconds you just eliminated. Competitive rigs thrive on deterministic networking and power delivery, so lock down every non‑essential system service before you step into the arena. The goal is a clean, single‑purpose machine that reacts the same way from match 1 to match 30.
- Connect via wired Gigabit Ethernet; disable Wi‑Fi adapters and Bluetooth radios.
- Set Windows Power Plan to **High Performance** and turn off Adaptive Brightness.
- Disable Windows Game Bar, Xbox DVR, and any background telemetry (ESL notes this shaves 0.5‑1 ms).
- Close non‑essential applications and stop scheduled tasks that trigger disk I/O.
Power stability is often overlooked. Running your PC on a dedicated UPS with line‑interactive filtering prevents voltage spikes that can cause GPU clock throttling mid‑match. A stable power rail keeps the GPU at its boost clock, preserving the low‑latency pipeline Reflex relies on.
Disabling the Windows Game Bar and background recording can shave off roughly 0.5‑1 ms of input latency, a noticeable edge in a 240 Hz environment.
Apply these tweaks before you power on, and repeat the Reflex Analyzer measurement on‑site. If latency spikes, revisit the list—most issues trace back to a stray background process or a flaky Ethernet cable. Consistency across the tournament day translates directly into tighter crosshair placement and more clutch rounds.
Conclusion: Locking in Every Millisecond
You’ve now walked through the full latency‑reduction pipeline: confirming hardware support, updating drivers and installing the optional Analyzer, toggling Reflex inside Valorant, locking the 240 Hz panel and fine‑tuning overdrive, measuring real‑world input lag, and finally safeguarding those gains in noisy LAN environments. Each step removes a specific bottleneck, turning a raw 4 ms system latency into a razor‑thin 2‑3 ms experience for competitive play.
- Verify your GPU and monitor meet Reflex requirements.
- Install the latest GeForce Game Ready driver and (optional) Reflex Analyzer.
- Enable Reflex Low‑Latency Mode in Valorant’s video settings.
- Set the monitor to native 240 Hz and apply appropriate overdrive.
- Run the Analyzer to benchmark and fine‑tune latency.
- Implement LAN‑specific tweaks (USB power management, cable routing, etc.).
Real‑world tests show most players shave 1–2 ms off their end‑to‑end latency after completing the checklist—a difference that can translate into a decisive edge in a 1‑v‑1 duel. Those milliseconds stack up across rounds, letting you react faster to enemy peeks and pre‑fire more consistently. The numbers aren’t magic; they’re the result of eliminating every avoidable frame delay.
For a deeper dive into system‑wide latency, explore NVIDIA’s official “Latency Analyzer SDK” documentation, which details low‑level timing APIs and advanced profiling techniques. The community around Reflex is also thriving on the r/ValorantCompetitive subreddit and the NVIDIA GeForce forums, where pros share custom overdrive curves and LAN‑setup scripts. Keep iterating—latency is a moving target, and continuous measurement is the only way to stay ahead.