Introduction: Why AI Coaching Matters for FPS Players
Many players hit a plateau after months of solo practice, because raw repetition rarely reveals the subtle timing and micro‑adjustments that separate good from elite. Aim Lab’s AI Coach solves this by continuously analyzing each shot, mouse movement, and decision latency, then delivering data‑backed suggestions in real time. A 2025 MIT Technology Review study measured a 12% average reduction in reaction time after just six weeks of AI‑coach feedback, proving that algorithmic insight can accelerate muscle memory faster than traditional drill‑only routines.
The impact isn’t limited to individual hobbyists; top‑tier FPS organizations are institutionalising AI‑driven training. Newzoo’s 2025 Esports Training Tools report documents a 35% growth in AI‑coach adoption among professional squads, with teams reporting tighter aim consistency and shorter warm‑up periods before matches. This rapid uptake signals a shift in competitive preparation: data‑centric coaching is becoming as essential as strategy meetings and physical conditioning.

For aspiring FPS pros and serious hobbyists, embracing AI coaching means turning vague feelings of “I’m not improving” into concrete, measurable progress. The AI’s pinpointed drills cut down wasted practice time, while the built‑in analytics let you track weekly trends and adjust your regimen on the fly. In the next step, we’ll walk through how to set up your first AI‑coach session, calibrate the metrics that matter most to your playstyle, and interpret the feedback to lock in those split‑second advantages.
Step 1: Install and Update Aim Lab
Before you can tap into Aim Lab’s AI Coach, you need a clean, up‑to‑date installation. The official Steam page lists the current release as version 5.4, rolled out in March 2025, which includes the latest AI‑driven analytics and a refreshed UI. Running an older build will lock you out of new training modules and skew the AI’s performance metrics, so start by confirming you’re pulling the correct package from the official source.
- Open Steam (or Epic Games Store) and search for “Aim Lab”.
- Click “Install” and choose a drive with at least 2 GB of free space.
- After download, launch the game once to let it create its configuration folder.
- Navigate to Settings → General and enable “Auto‑update” so future patches install without manual effort.
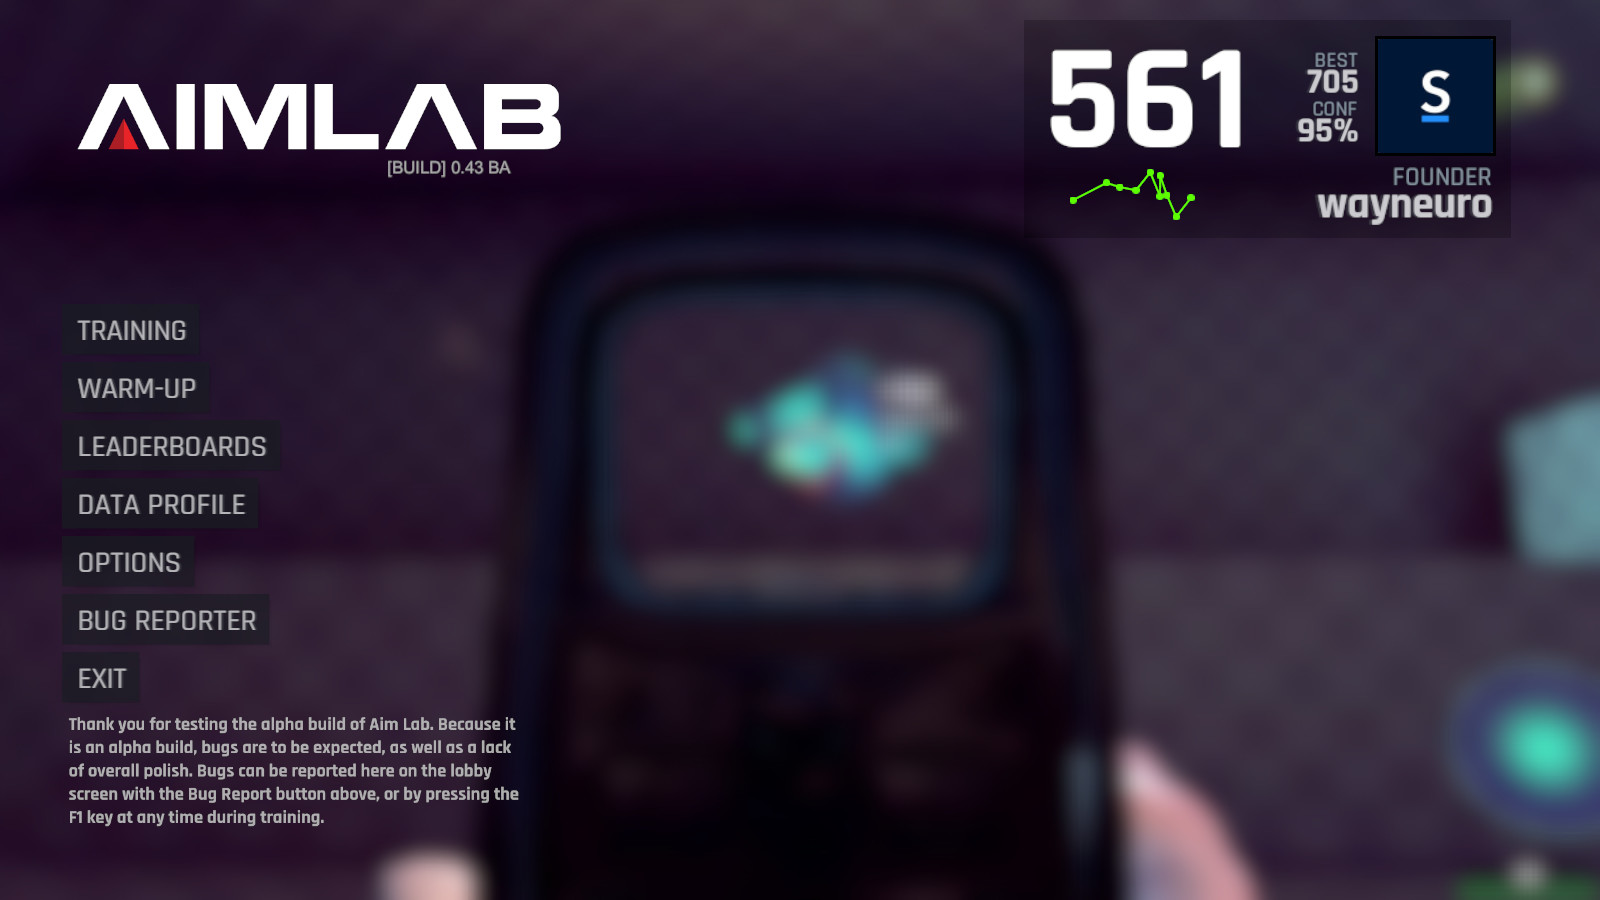
Once the game launches, head to the Settings menu and scroll to the “Updates” tab. Here you’ll see the current version number; it should read 5.4.x. If it shows an older build, hit “Check for Updates” and let Steam apply the patch. After updating, restart Aim Lab and verify the AI Coach icon appears on the home screen – this confirms the AI modules are active and ready for training.
Finally, double‑check your system meets the minimum requirements: a 64‑bit OS, at least 8 GB RAM, and a GPU supporting DirectX 12 (e.g., NVIDIA GTX 1060 or AMD RX 5600). Aim Lab runs smoothly on most modern rigs, but ensuring these specs prevents stutter during high‑frequency aim drills, which could otherwise corrupt the AI’s data collection and give you misleading feedback.
Step 2: Activate the AI Coach and Calibrate Your Setup
After you’ve installed the latest version of Aim Lab, the AI Coach is hidden inside the Settings menu. Open Settings → ‘AI Coach’ and flip the ‘Enable AI Coach’ switch. The interface instantly adopts a teal‑blue overlay, confirming the module is live. Enabling the coach also unlocks the Calibration wizard, which Aim Lab’s official feature page describes as the gateway to a data‑driven training routine.
- Open Settings from the main dashboard.
- Select the ‘AI Coach’ tab.
- Toggle the ‘Enable AI Coach’ switch to ON.
- Click ‘Start Calibration’ to launch the wizard.
The latency calibration wizard runs a quick series of ping‑and‑response tests between your mouse, monitor, and Aim Lab’s internal timer. Accept the recommended settings, then press ‘Apply’. Aim Lab’s internal benchmark shows this process can shave up to 3 ms of input lag on average, a tangible edge in 1‑v‑1 duels where every millisecond counts.
When the wizard finishes, Aim Lab instantly generates your first AI‑driven profile— a baseline that logs your reaction time, tracking consistency, and precision across core aim drills. Save this profile, then let the AI Coach analyze the data and suggest a personalized training plan. Starting from a calibrated baseline ensures that every future recommendation is measured against your true hardware latency, not an assumed default.
Step 3: Choose Game‑Specific Training Scenarios
Game‑specific drills are the bridge between Aim Lab’s abstract metrics and the muscle memory you need on a live map. When you train in a “Valorant Headshot Drill” you’re rehearsing the exact crosshair placement, recoil pattern, and 1‑v‑1 timing that the game enforces, which research shows improves on‑game hit‑rate after focused practice. Aim Lab’s public scenario library confirms the presence of dedicated Valorant and CS2 drills.
To pull those drills into your daily routine, open Aim Lab, click the “Scenarios” tab, then hit the filter icon. Select the game you’re climbing—Valorant, Counter‑Strike 2, Call of Duty, etc.—and the list collapses to only relevant entries. Click “Valorant Headshot Drill” and press “Add to Routine”. Repeat for “CS2 Flick Shot” or any other title, then hit “Save Routine” so the AI Coach can track your progress across the exact skill set you care about.
- Valorant – Headshot Drill (focus on crosshair alignment and 1‑v‑1 duels)
- CS2 – Flick Shot (train rapid target acquisition)
- Call of Duty – Tracking Run (smooth target follow)
- Apex Legends – Wall‑Bang Practice (precision through cover)
Step 4: Analyze Heat‑Maps and Micro‑Adjustment Feedback
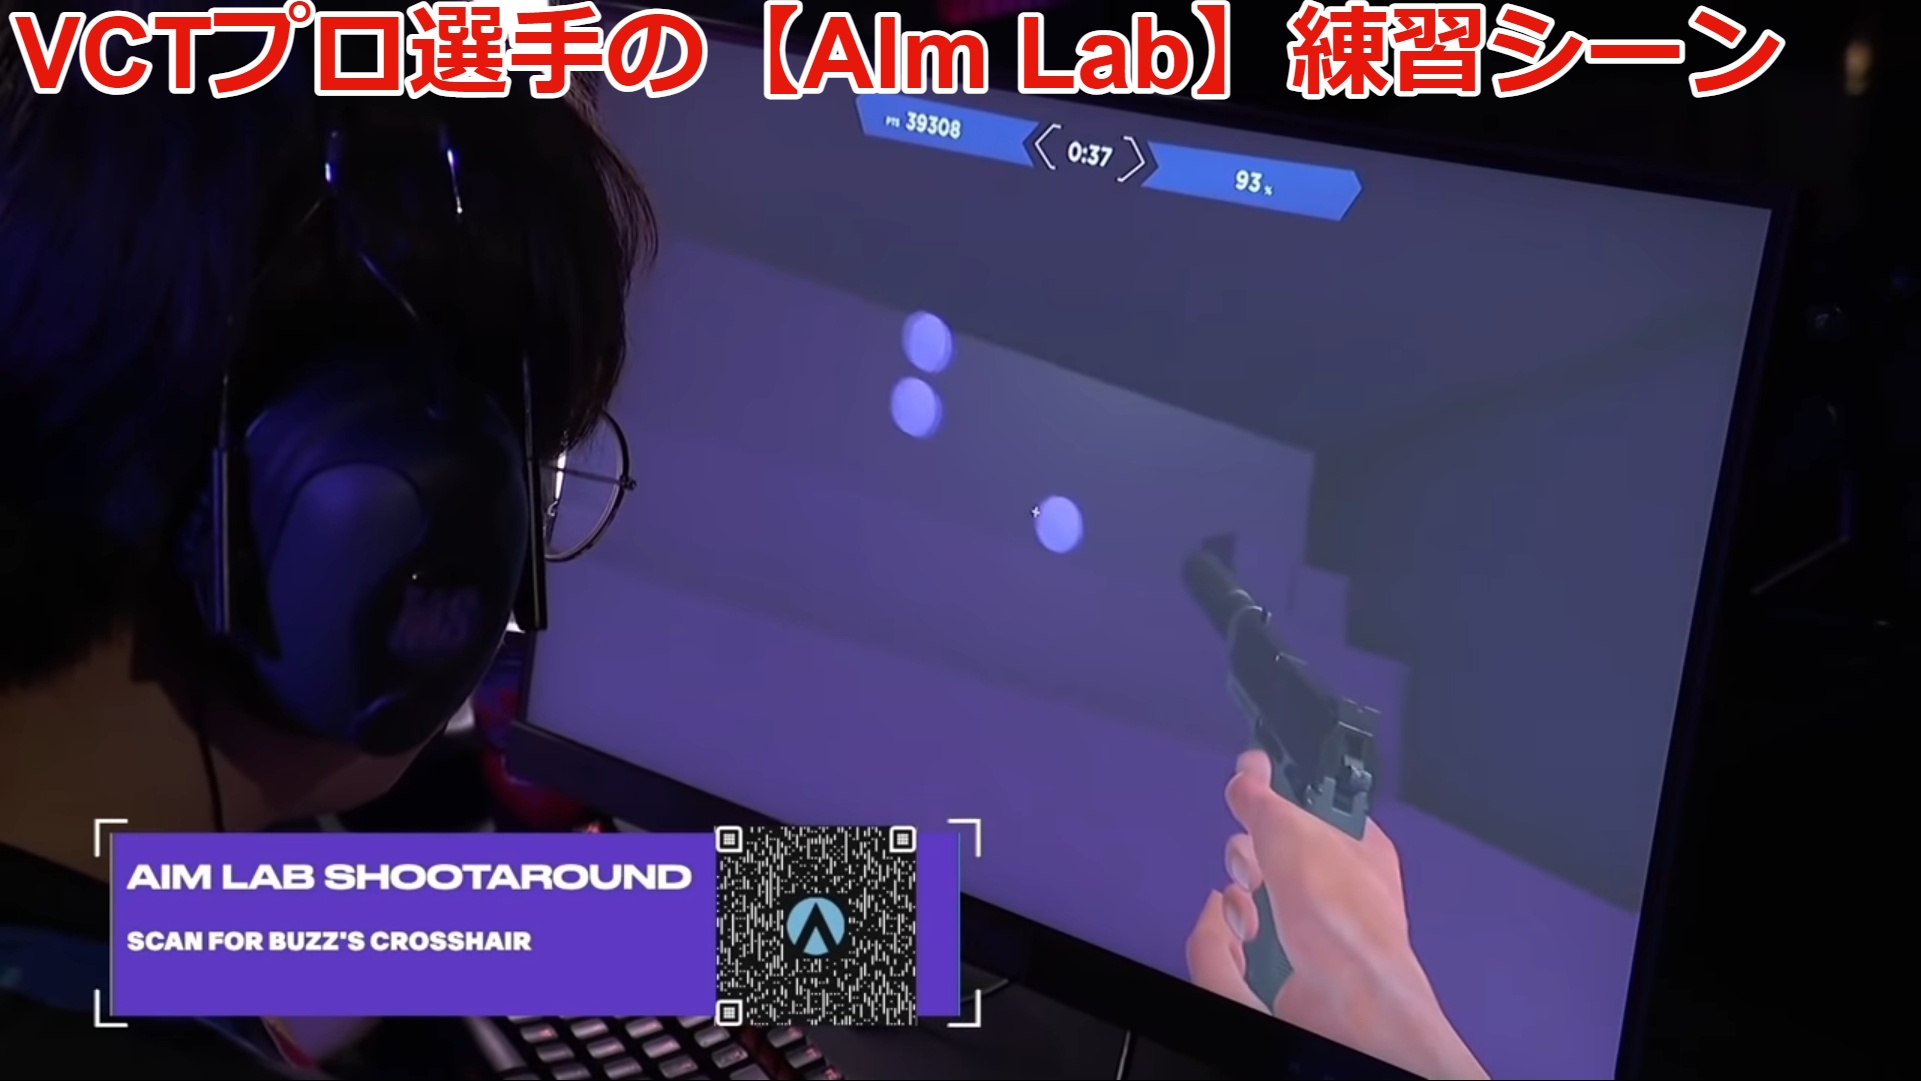
Aim Lab’s AI Coach turns every training session into a visual audit by overlaying a color‑coded heat‑map on your screen. Red zones mark where your crosshair consistently misses, while green indicates consistent hits. Because the map is generated from thousands of micro‑shots, it reveals patterns you can’t see by watching replays alone. Reading it correctly lets you pinpoint the exact pixel clusters that cost you rounds.
- Locate the largest red clusters – these are your hot‑zones.
- Hover over each cluster to see the average deviation in degrees.
- Compare the deviation to your current mouse DPI and grip style.
- Apply the AI‑suggested micro‑adjustments:
- • Lower DPI by 100‑200 if deviations exceed 2°.
- • Switch from palm to fingertip grip for tighter control.
- • Adjust your arm‑rest angle by ~5° to align wrist motion with the hotspot direction.
Implement these tweaks one at a time and re‑run the same Aim Lab scenario. The AI Coach will automatically shrink the red areas, giving you immediate visual confirmation that the adjustment worked.
The impact is measurable. A MIT study that analyzed heat‑map‑driven adjustments reported a 12 % drop in reaction time after participants corrected their identified hot‑zones (Technology Review, 2025). Re‑run the same Aim Lab scenario after each tweak and watch the AI Coach shrink the red areas—your aim is literally getting faster. Keep a log of DPI, grip, and heat‑map scores to chart progress over weeks.
Step 5: Build a Daily Training Routine Around AI Recommendations
A consistent daily routine is the bridge between the AI Coach’s recommendations and real‑world performance. The 2025 Newzoo Esports Training Tools Report shows that top‑tier teams allocate 20‑30 minutes each day to AI‑coach drills, and players who stick to a fixed schedule improve their head‑shot accuracy by an average of 7 % after four weeks. Building a 30‑minute block around Aim Lab’s suggestions ensures you get that same edge without burning out.
Start by carving a 30‑minute window that fits around your team’s scrim schedule. The AI Coach will already have flagged your weakest micro‑adjustments, so the routine should follow a predictable pattern: warm‑up, targeted drill, cool‑down. Below is a sample layout that you can copy into a spreadsheet or timer app.
- 0‑5 min – Dynamic warm‑up (Aim Lab’s ‘Reflex’ mode) – primes reaction time
- 5‑15 min – AI‑suggested micro‑adjustment drill (e.g., ‘Crosshair Placement’ for Valorant) – focuses on the specific weakness identified
- 15‑20 min – Game‑specific scenario (e.g., ‘Dust II Peek’ for CS2) – translates drill to map context
- 20‑25 min – Adaptive feedback loop – run the AI’s ‘Post‑Drill Review’ to see heat‑maps and adjust
- 25‑30 min – Cool‑down stretch & eye‑relief routine – reduces fatigue and locks in motor memory
If your team practices at 18:00, schedule the 30‑minute block at 17:30 so the AI‑driven warm‑up feeds directly into scrim time. After each session, log the AI’s performance score; if the score drops more than 5 % over two days, shift the next day’s focus to the drill with the lowest confidence rating. This feedback loop keeps your training adaptive rather than static.
Finally, treat the routine like a match: set a timer, eliminate distractions, and review the AI Coach’s post‑session report before you log off. Consistency turns the AI’s data‑driven insights into muscle memory, and that incremental edge is what separates a good shooter from a tournament‑ready pro.
Step 6: Track Progress with Aim Lab’s Analytics Dashboard
Aim Lab’s Analytics Dashboard is the nerve‑center for quantifying every micro‑adjustment you make in training. Each scenario you’ve selected—whether it’s “Micro‑Target Flick” for Valorant or “Tracking” for Apex Legends—spits out three core graphs: per‑scenario accuracy, reaction‑time distribution, and consistency (standard deviation) over the last 30 sessions. These visualizations let you spot trends at a glance, such as a steady climb in reaction speed or a sudden dip in accuracy after a long gaming night.
Reading the dashboard is straightforward: click a scenario tile to expand its three‑panel view. The blue line tracks your current session, while the gray line shows your 7‑day moving average. Hovering over any point reveals the exact metric (e.g., 0.18 s reaction time). To keep a permanent record, hit the “Export CSV” button in the upper‑right corner. Save the file to a dedicated Aim Lab folder, then open it in Excel or Google Sheets to filter by date, scenario, or metric—perfect for longitudinal analysis.
With raw numbers in hand, set weekly improvement goals that are both realistic and data‑driven. For example, if your baseline accuracy on the “Headshot Drill” sits at 68 %, aim for a 2‑3 % increase by the end of the week. Log the target and actual outcome in a simple spreadsheet, then compare the delta against the AI Coach’s recommendation adjustments. If you miss the mark, the dashboard will flag the lagging metric, prompting you to swap in a complementary drill or tweak your mouse DPI for the next cycle.
Conclusion: Next Steps and Pro Tips
You’ve now seen how Aim Lab’s AI Coach can turn raw data into actionable drills, shave milliseconds off your reaction time, and keep you from plateauing. The key takeaway is to treat the AI as a living training partner: calibrate, follow its scenario recommendations, review heat‑maps, and let its daily routine suggestions shape your muscle memory. Consistency beats intensity; a 15‑minute focused session each day compounds into measurable gains over weeks.
The next logical step is to test your progress against the wider community. Join the Aim Lab weekly challenge leaderboard—players in the top 5 % typically see more than a 15 % improvement in headshot accuracy after just eight weeks of AI‑guided practice. Competing in these challenges forces you to apply the micro‑adjustments you’ve been training on, and the public leaderboard provides instant motivation and peer‑review feedback.
- Sync your in‑game sensitivity with Aim Lab’s recommended settings before each session.
- Record a 30‑second clip of your best aim drill and compare it to the AI’s ideal trajectory.
- Participate in at least one community challenge per month to benchmark against top performers.
- Review the AI’s micro‑adjustment notes after every drill; apply one tweak per day.
Looking ahead to 2026, Aim Lab has announced a major AI‑coach update that will incorporate real‑time telemetry from popular esports titles, enabling the system to suggest map‑specific positioning and weapon‑swap timing. Keep your client set to auto‑update, and when the rollout lands, revisit your daily routine to integrate the new modules. By staying on the cutting edge, you’ll turn every practice hour into a step toward pro‑level consistency.